

CyberArticle Quick Start1: Save web pagesWhen you are viewing web pages in IE (or a web browser based on
IE), If you want to save the web page being viewed, right
click on the web page, select "CyberArticle: Save Current Page" and then a
dialog will be displayed as the following:
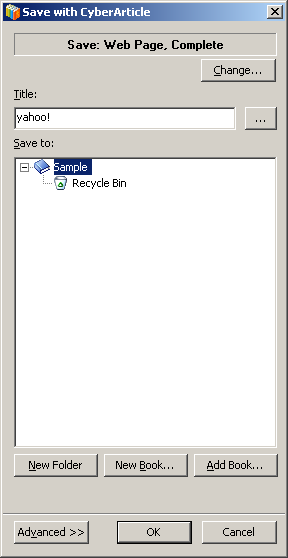 Click "OK", so as to save the current web page with CyberArticle.
Right click on a node and select "New Folder" in the popup menu, so as to
create a new folder.
2: View saved web pagesOpen CyberArticle and Folders window will be
displayed. In here click the corresponding article node you need, so as to
view your saved web pages.
 3: Where are web pages savedYour saved web pages are stored in CyberArticle books. A
CyberArticle book is normally a database file. Book files are
usually saved in "My Documents\MyBooks" folder.
When using CyberArticle for the first time, CyberArticle will create a book
named as "CyberArticle Sample Book" automatically. This book will be saved
in "My Documents\My Books" and the file name of the book is
Sample.xbook.
Web pages as well as all the related resources contained in web pages
such as images, Flash & etc. will be saved in books by CyberArticle.
With respect to books in Microsoft Access database (the default format
in CyberArticle), if you want to backup your data, you only need to
backup your book file (*.xbook)
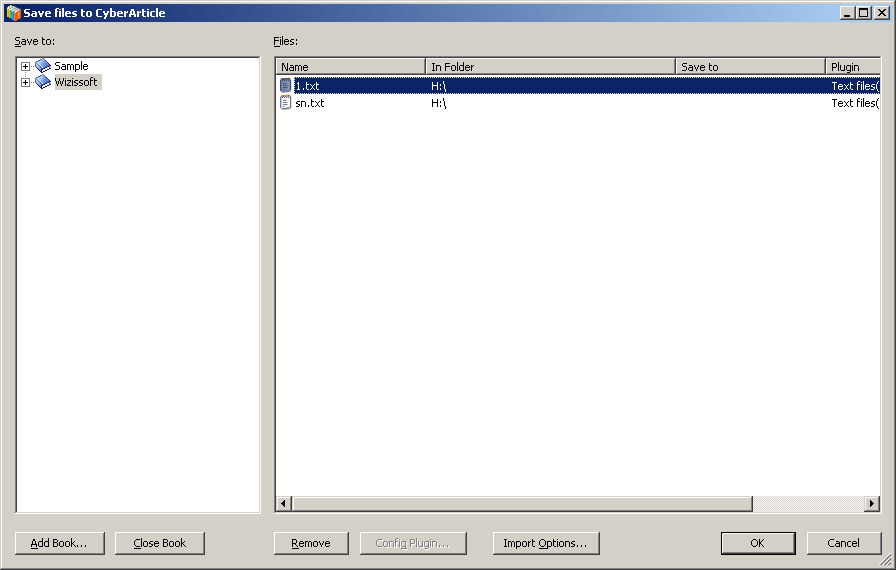
4: Import filesCyberArticle can also manage other files, such as text, office
documents(*.doc, *.ppt, *.xls), pdf files. In Windows Explorer, find
and select the files you want to import, right click on them,
select "Send To->CyberArticle", and then the files will be
imported into a CyberArticle book.
 5: Export documentsYou can export documents in CyberArticle as files, or make e-Books
(EXE, CHM, Eclipse Help).
|
|
|
|


